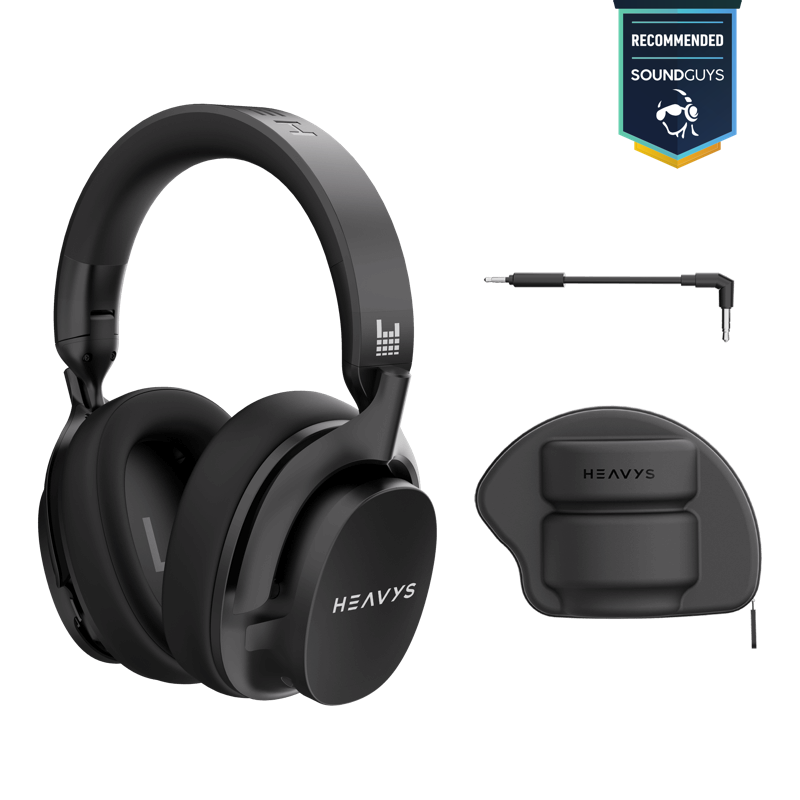
How to Replace Your H1H Headphone Headpad:
- Gather your headphones, replacement kit screwdriver and replacement headpad:
- Ensure your headphones are turned off and disconnected from any devices before starting.
- Remove the old headpad:
- Locate the attachment points of the current headpad on the underside of the headphone band.
- Gently Unscrew the two little screws connecting the headpad (keep the screws close by to not lose them)
- Remove the small plastic cover above the screws at either side of the edge of the padding.
- Gently pull the old headpad away from the headband by detaching it from these points. You may need to work your way along the headband to fully remove it. as seen in the video

- Prepare the new headpad:
- Take the new headpad and locate the attachment clips or Velcro strips, depending on the model.
- Ensure the new headpad is oriented correctly for attachment to the headphone band.
- Attach the new headpad:
- Begin by aligning one side of the new headpad with the attachment points on the headphone band. - NOTE make sure the top coil in the middle does not get 'squashed' by parts of the headband.
- Firmly press the headpad into place, working your way along the headband until the entire headpad is securely attached.
- Ensure the new headpad is securely in place:
- Place the two plastic covers above each edge of the headpad pressing on the padding.
- Screw the two screws back on using the included screwdriver to secure the plastic covers
- Check the headpad by giving it a gentle tug or adjusting it to ensure it’s properly secured and won’t shift during use.
For further clarification, you can follow along with the video here:
[Watch Video]
*we have headpads in standard size as well as headbands with with extra padding for smaller heads)
* for Instructions on how to replace your EAR PADS click here


